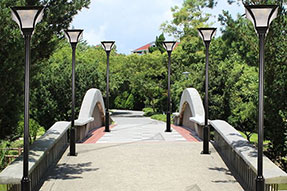
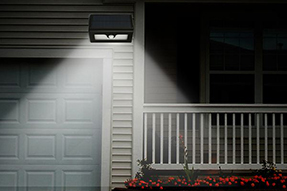
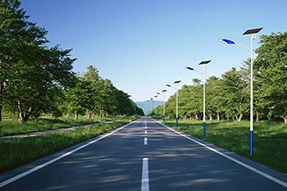
Do you know what is solar street light system ?
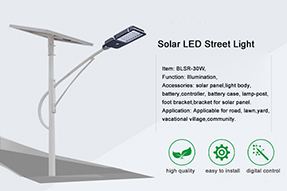
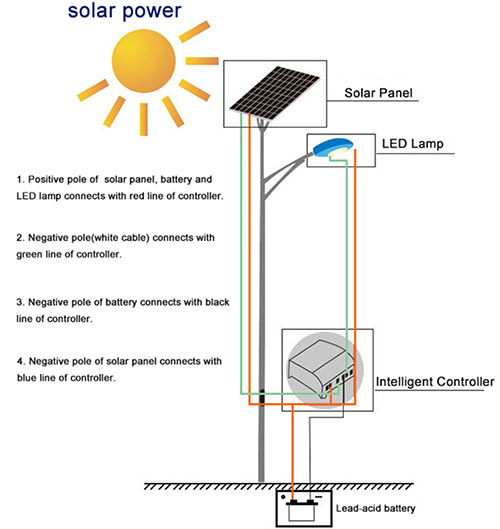
Solar street light system consists of solar panel, storage battery, solar controller, main light source, battery box, main lamp body, lamp-post and electric cables.
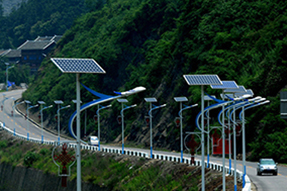
Solar street light is not limited by district, not influenced by installation location, also don’t have to excavate road surface to pave cables, it is very convenient to construct and install, don’t need high voltage transmission system, don’t consume public power, it is friendly environmental and energy-saving, having better economic performance, it is very convenient to add solar street lights for those roads which had been constructed already. It is very special performance to install solar street light, outdoor advertising board or application for bus stop in the remote areas where are far away from public grid.
Component Parts
The working principle of solar street light is simple, which makes use of the theories of photovoltaic effect to make solar panel. The solar panel absorbs sunlight to convert solar radiation into power being stored in battery via solar controller, the open circuit voltage of solar panel is about 4.5V when sunlight decreases up to set point in night, solar controller can automatically detect this point and issue stop instruction, then storage battery can start to discharge for LED lamp. After discharging 8.5 hours, solar controller issue stop instruction, then storage battery stop to discharge.
Installation Process
1. The foundation pouring
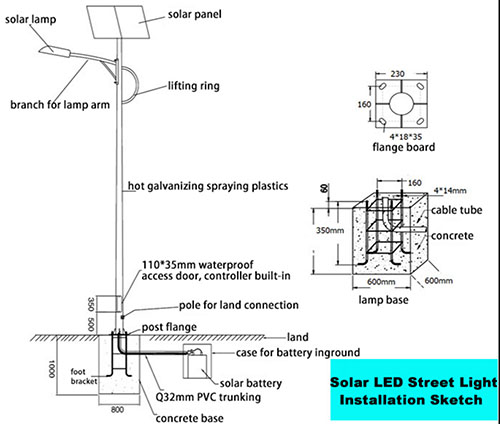
1) Confirm installation position. To detect geological condition, the excavation need be deepen if soil texture is loose in the 1-2m land surface; Meanwhile, need ensure there are not any other facilities, such as cables, pipelines etc, under installation site and check if having any shadow covering the light.
2) To reserve the standard hole whose depth is 1-3m at installation site, to make positioning pouring for embedded part, then put the embedded part into the standard hole, to put one connector of PVC conduit in the middle of embedded part, to put another connector on the storage battery. Need notice to keep embedded part, foundation and origin land under the same plane, one side need parallel with load, so that it can make sure lamp-post not to incline after installation. Then use C20 concrete to pour and fix, don’t use vibrating spear during pouring process, need keep whole compactness and fastness.
3) Timely Clear residual on the positioning board after completely installation, and use waste oil to clear impurities of bolt.
4) Need be timing to watering and maintaining during concrete solidification process; It can start to install only if waiting concrete solidification completely (it is over 72 hours as usual).
2. The installation of solar panel.
1) The output positive and negative pole must be taken measure to avoid short circuit before connecting with controller.
2) The connection of solar panel and brackets must be fastness and reliability.
3) The outlet cables of solar panel should avoid being bareness and use ribbon to strengthen.
4) The orientation of solar panel need orient South (Orientation need depends on different Countries or different areas).
3. The installation of storage battery.
1) Need handle with care when set storage battery in controller box, in case of damaging controller box.
2) Need use bolt to press on the battery connector for batteries’ connection and utilize copper backing to improve electrical conductivity.
3) Anytime need avoid short-circuit after battery output cable connecting with controller inside telegraph pole, to avoid damaging battery.
4) It must get through PVC conduit for the connection of battery and controller.
5) Inspect controller connection after finishing above process, to avoid short circuit. Close the door of controller box after inspection.
4. The installation of LED lamp.
1) To fix all parts. Fixing solar panel on brackets, fixing lamp head on post arm, then fixing brackets and post arm in the main lamp-post, and threading cables to controller box.
2) Need check whether every part is firm, the installation of lamp head is correct, the working of light source is normal before craning lamp-post. Then approximately to debug if the system working is normal, disconnect solar panel, the lighting work; connect solar panel, the light stop to work; at the same time, to observe variation of various controller indicator; The lamp-post can be craned after everything is correct.
3) Need take care when craning lamp-post, screw need be fixed. If orientation has deviation, should adjust to make it orient South.
4) Put battery into battery box, connect battery with controller according to technical data requirement; Connecting battery firstly, then connecting with loads, then connecting with solar panel. Need notice not to make wrong connection, can’t make reverse connection for positive and negative pole, otherwise the controller would be damaged.
5) Debug the system to check if working is normal. The light work when disconnecting solar panel, the light stop to work when connecting solar panel; Then observe carefully various indicators of controller, the controller box can be sealed after every part is normal.
Attention
1) Solar street light system is powered by solar radiation, it would directly influence light brightness effect whether sunlight is sufficient to touch with solar panel, therefore, when to choose installation site, need keep solar panel can touch sufficient solar irradiation at any time, and keep not having shadow covering solar panel.
2) Need notice that the wire don’t be clamped in the connection of lamp-post when threading. The connector junction should be fasten to connect, and utilize PVC ribbon to twine.
3) In order to keep beautiful appearance and make solar panel greatly absorb solar radiation, please clear dust on solar panel each half of year, but do not use water to wash from head to bottom.
Above is description for solar street light, it is necessary to learn more about solar street light, maybe one day you would like to have one solar light to bright your street.
Bingsolar Power, 3th, March, 2018
