Do you know what is the installation process for solar street light ?
How to install solar street light ? I think most of people who start to enter this business would like to learn. Now let us introduce the detail process to install solar street light.
The Composition of Solar Street Light.
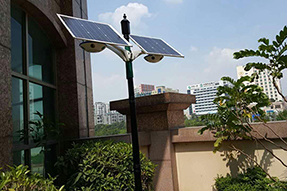
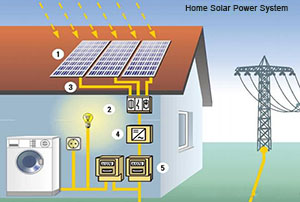
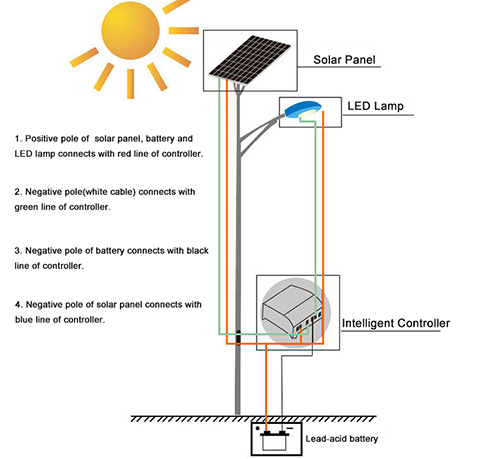
Solar street light mainly is made up of solar panel, smart controller, battery, lighting source, lamp-post and bracket, etc. Solar street light is to adopt solar panel converting solar power into electric power in daytime when solar panel is radiated by solar. When solar irradiance gradually decreases in night, smart controller can detect some value, it would control battery to discharge for LED lamp, then the LED lamp can auto to work in night. Smart controller can protect battery from over-charge and over-discharge, and control the working time of LED lamp.
1. The Foundation Casting.
1) Confirm the installation site.
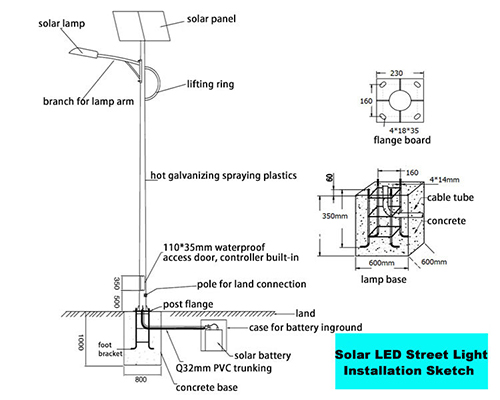
Installation site should be according to construction drawings and local geologic situation, please confirm no any shadow covering the top of solar street light, the interval between each two lights is about 40m.
2) Excavate the Foundation Ditch for Solar Street Light.
Please excavate the foundation ditch in the confirming site, the foundation ditch should be deeper if the soil texture is soft among 1m area of the earth surface. At the same time, please confirm and protect excavation site and other facilities, such as cables, pipes, etc.
3) Please chip the foundation ditch to be battery box. Please keep the foundation ditch has enough room to bury battery.
4) Casting the Foundation Embedded Part.
Please put the embedded part into the foundation ditch, and put one end of steel wire tube in the middle of embedded part, another one end put with the battery. Keep the embedded part, The foundation and land area should have the same horizontal plane. Then use concrete to cast and fix the embedded part. Please continue to stir even during the casting, to guarantee the sealing and fastness for whole of embedded part.
5) Please clean the residue on the position plate in time after completing the construction, the solar street light can start to be installed after concrete being complete solidification (Usually it is about 4 days, sometime it is 3 days if whether is well).
2. The Installation of Solar Panel, Bracket, Lamp-Post, LED Lamp and Lamp-Post.
1) The installation of solar panel.
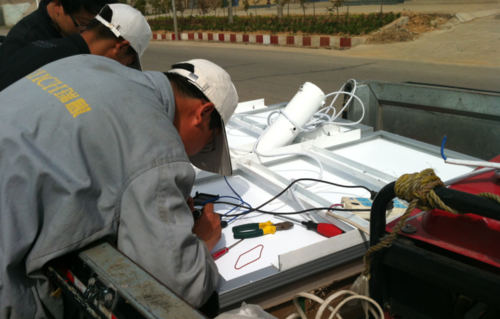
(1) Please put solar panel on the brackets and use screws to fix, to keep it fastness and reliability.
(2) Connect the output cables of solar panel, please notice to correctly connect their positive (+) and negative (-), and use ribbon to fasten the output cables of solar panel.
(3) Please process tinning for the wiring terminal of solar panel, to protect wires from being oxidized.
2) Installation for the LED Lamp.
(1) Please threading lamp wires out from lamp arm, outgoing some lamp wire to install lamp head.
(2) Support the lamp-post, threading another wiring terminal out from reserved hole of lamp-post, and install lamp head in another wiring terminal.
(3) Use screw to fix lamp-arm and lamp-post.
(4) Please mark one lamp-post terminal, use small conduit to thread the wires of solar panel and LED lamp to the bottom of lamp-post, and fix solar panel on the lamp-post. Please check if every screw has been fastened and waiting for crane to lift the lamp-post.
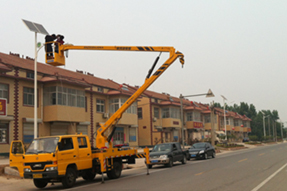
3) Lift the Lamp-post.
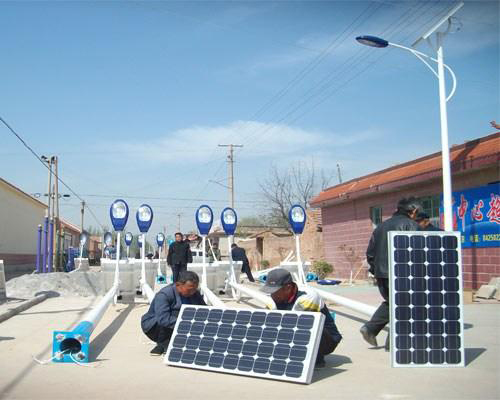
(1) The fastness situation of every components must be carefully checked before lifting lamp-post, check if lamp head or solar panel has any deviation, and make moderate adjustment.
(2) Slowly lift lamp-post, avoid steel wire rope of crane to scratch solar panel.
(3) Slowly put down lamp-post and rotate the lamp-post to adjust its orientation.
(4) After the ring flange being into foundation, gradually sheathe flat gasket, spring pad and nut, then use wrench to tighten nut and fasten lamp-post.
(5) Remove the lifting rope, and check if having any incline.
4) The Installation of Battery and Controller.
(1) Put battery inside battery box, and use thin wire to thread battery cable to the surface of foundation.
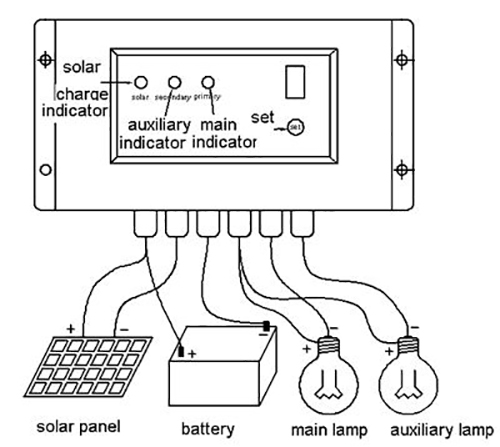
(2) Connect the cable of battery with controller according to technical requirement. Connect with battery at first, then connect with loads, after then connect with solar panel. Please notice each wiring terminal when connecting the wires, positive and negative pole can’t be reverse connection, otherwise it would damage controller.
(3) Debug to check if the solar street light normally work, set controller mode, let the solar lamp work, to check if having any problem, after setting lighting time, sealing the cover of lamp-post.
(4) The wiring connection diagram of smart controller.
3. The Adjustment of Solar Panel and The Second Embedded.
1) Please check the installation effect of whole solar street lights after completing the installation, please adjust the one which has any incline. Ultimately to keep all of solar street lights be uniform.
2) Check the orientation of solar panel, need adjust the orientation of solar panel toward Due South in China. (Orientation is different in different Countries).
3) Check whether the lamp-arm has any incline, lamp head is moderation. Need adjust them if having any unsuitability.
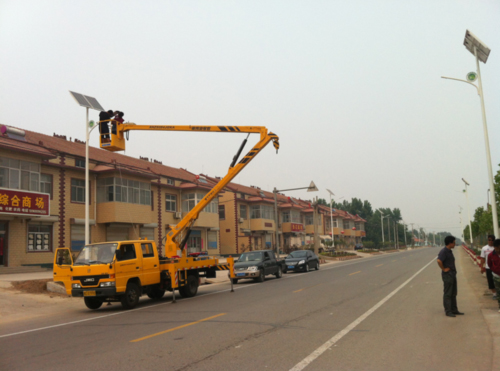
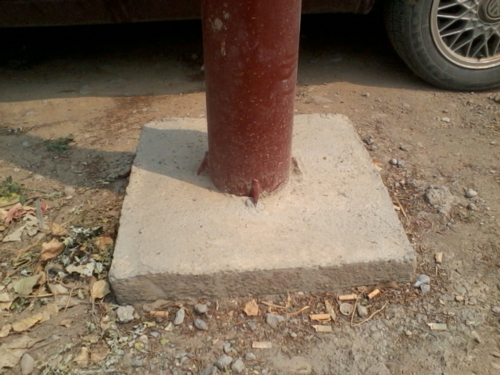
4) Please process the second embedded for the foundation of lamp-post after checking everything being no problem. Use cement to chip the foundation to be a small square block, to make the solar street light be more fastness and reliability.
Above is the introduction of installation process for solar street light, it is easy to install and no need pave complicated cables, cleaning energy and no need pay electric fee. It is developing and technical tendency.
Bingsolar Power, 8th, April, 2018
