Do you know how to install lithium battery solar street light ?
Presently, Lithium battery solar street light has been widely applied in our routine lives, but still many customers don’t know how to install lithium battery solar street light, now let me talk about the process for the installation.
Firstly, we should know what is components for lithium battery solar street light.
The solar street light is made up of solar panel, smart controller, lithium battery pack, lighting source, lamp-post and brackets.
The installation of lithium battery solar street light is as below:
1. Pouring Foundation.
1) Decide the orientation of lithium battery solar street light.
Technician need investigate local geological condition and check construction drawings, to confirm no shadow on the top of the light, to confirm the installation site and interval between street lights according to relative data.
2) Pouring the foundational embedded part of solar street light.
Put the prepared embedded part inside foundation pit, and put one terminal of steel wire tube in the middle of embedded part. And keep embedded part, foundation and land are on the same horizon. Then use C20 concrete to pour and fix embedded part. Please keep continue to stir evenly during pouring, to guarantee the compactness and fastness of embedded part.
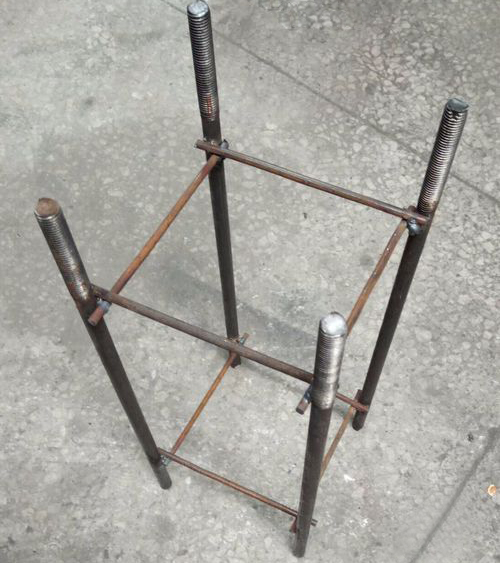

3) After completing construction, please cleaning the residual on the positioning board, please start to install the lithium battery solar street light after concrete completely solidification (It is about 3~4 days ).
2. The installation of lithium battery solar street light.
1) Wire connects with lamp head, and thread this wire through lamp arm, then use screw to fix them.
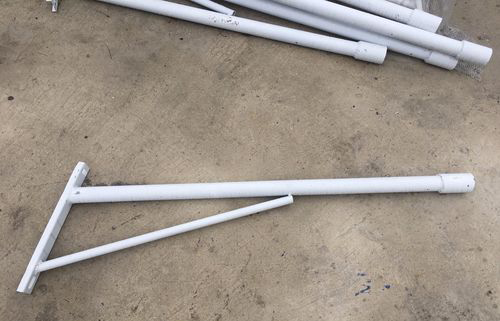
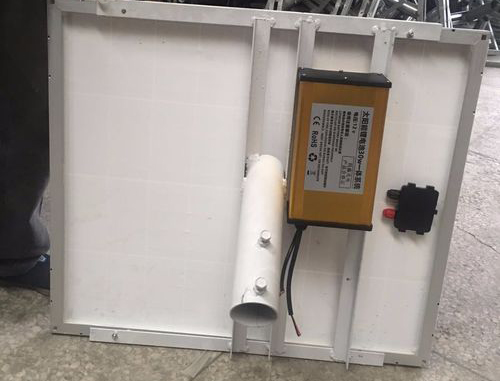
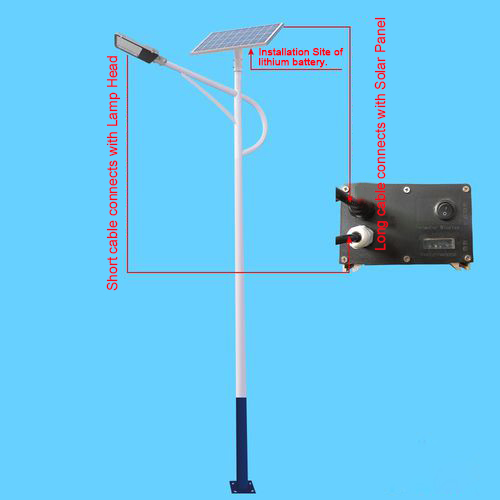
2) Please install the lithium battery integrating controller into the position with prepared 4pcs screw holes.
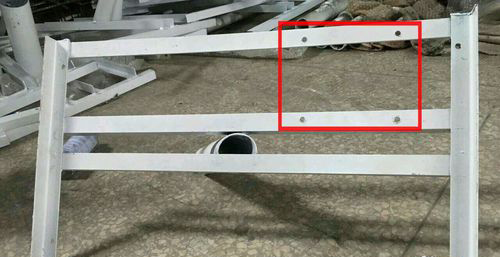
3) Solar panel should be installed into the prepared 4pcs screw hole in the bracket.
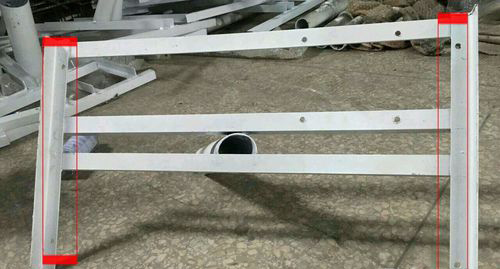
4) After completing to install solar panel, lithium battery integrating controller, please install them to lamp-post and fix.
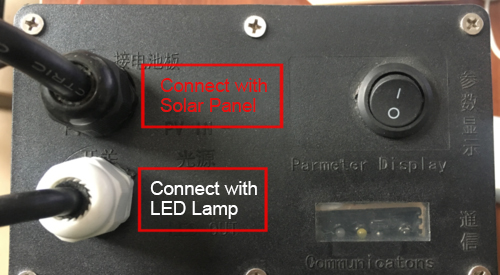
5) There are black and white cap on the lithium battery integrating controller, the black cap connects with solar panel, the white cap connects with LED lamp head.
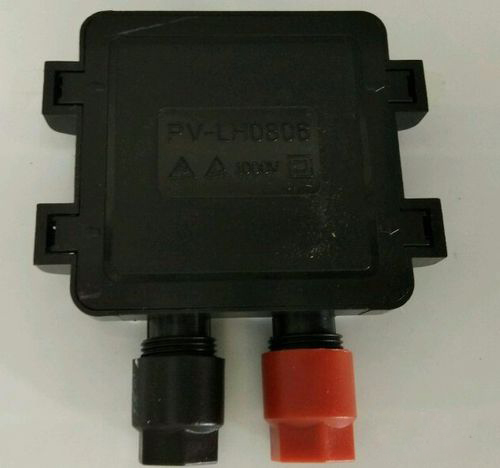
6) The backside of solar panel is junction box, it can be opened by screwdriver, the wire connection of solar panel (red cap connects positive pole, black cap connects negative pole ) is relative the positive and negative pole of integration of lithium battery and controller, please use electric glue to seal them when wiring connection.
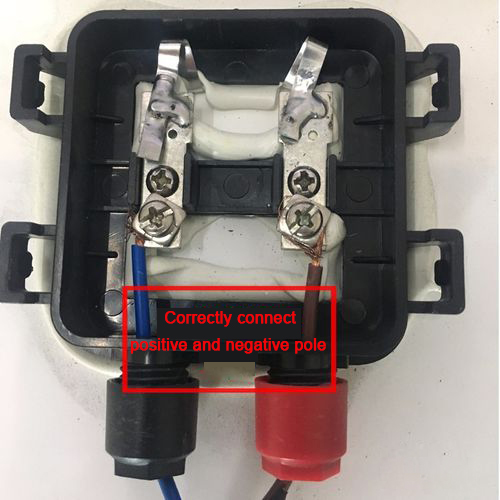
7) LED lamp head connects with the integration of battery and controller, please keep to seal them after connection.
3. Check the wiring connection of lithium battery integrating controller.
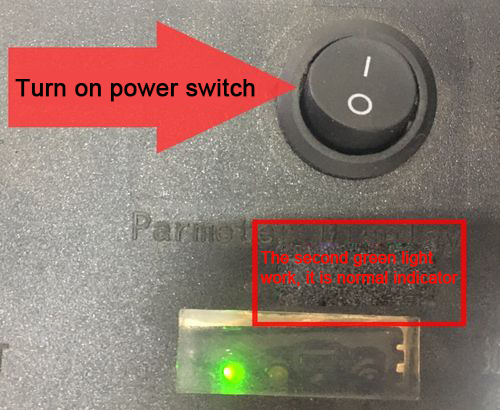
1) The second green light work when turning on the power switch of the integration (lithium battery and controller).
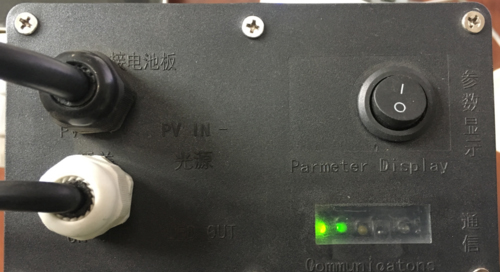
2) The first green light would work if solar panel being radiated by sunlight.
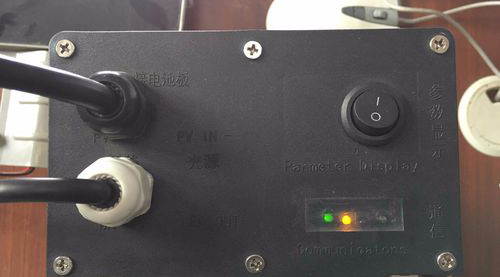
3) The first green light would turn off if using something to shadow the solar panel for some seconds, then the third yellow light would work, namely the LED lamp work, the wiring connection is correct, wiring connection is completed.
4. The installation of Lamp-Post.
Please correspond embedded part and screw holes to fix the lamp-post.

Bingsolar Power, 25th, April, 2018
